Shelving layouts for Canadian closets
A closet shelf does one of two jobs: it holds folded clothing, or it acts as overhead storage for things used a few times a year. Those two jobs want different depths and different heights, and trying to make one shelf do both is where most reach-in closets start to feel cramped. This article works through depth, spacing, and the mounting choice between fixed and adjustable shelving, with attention to the quirks of older Canadian housing.
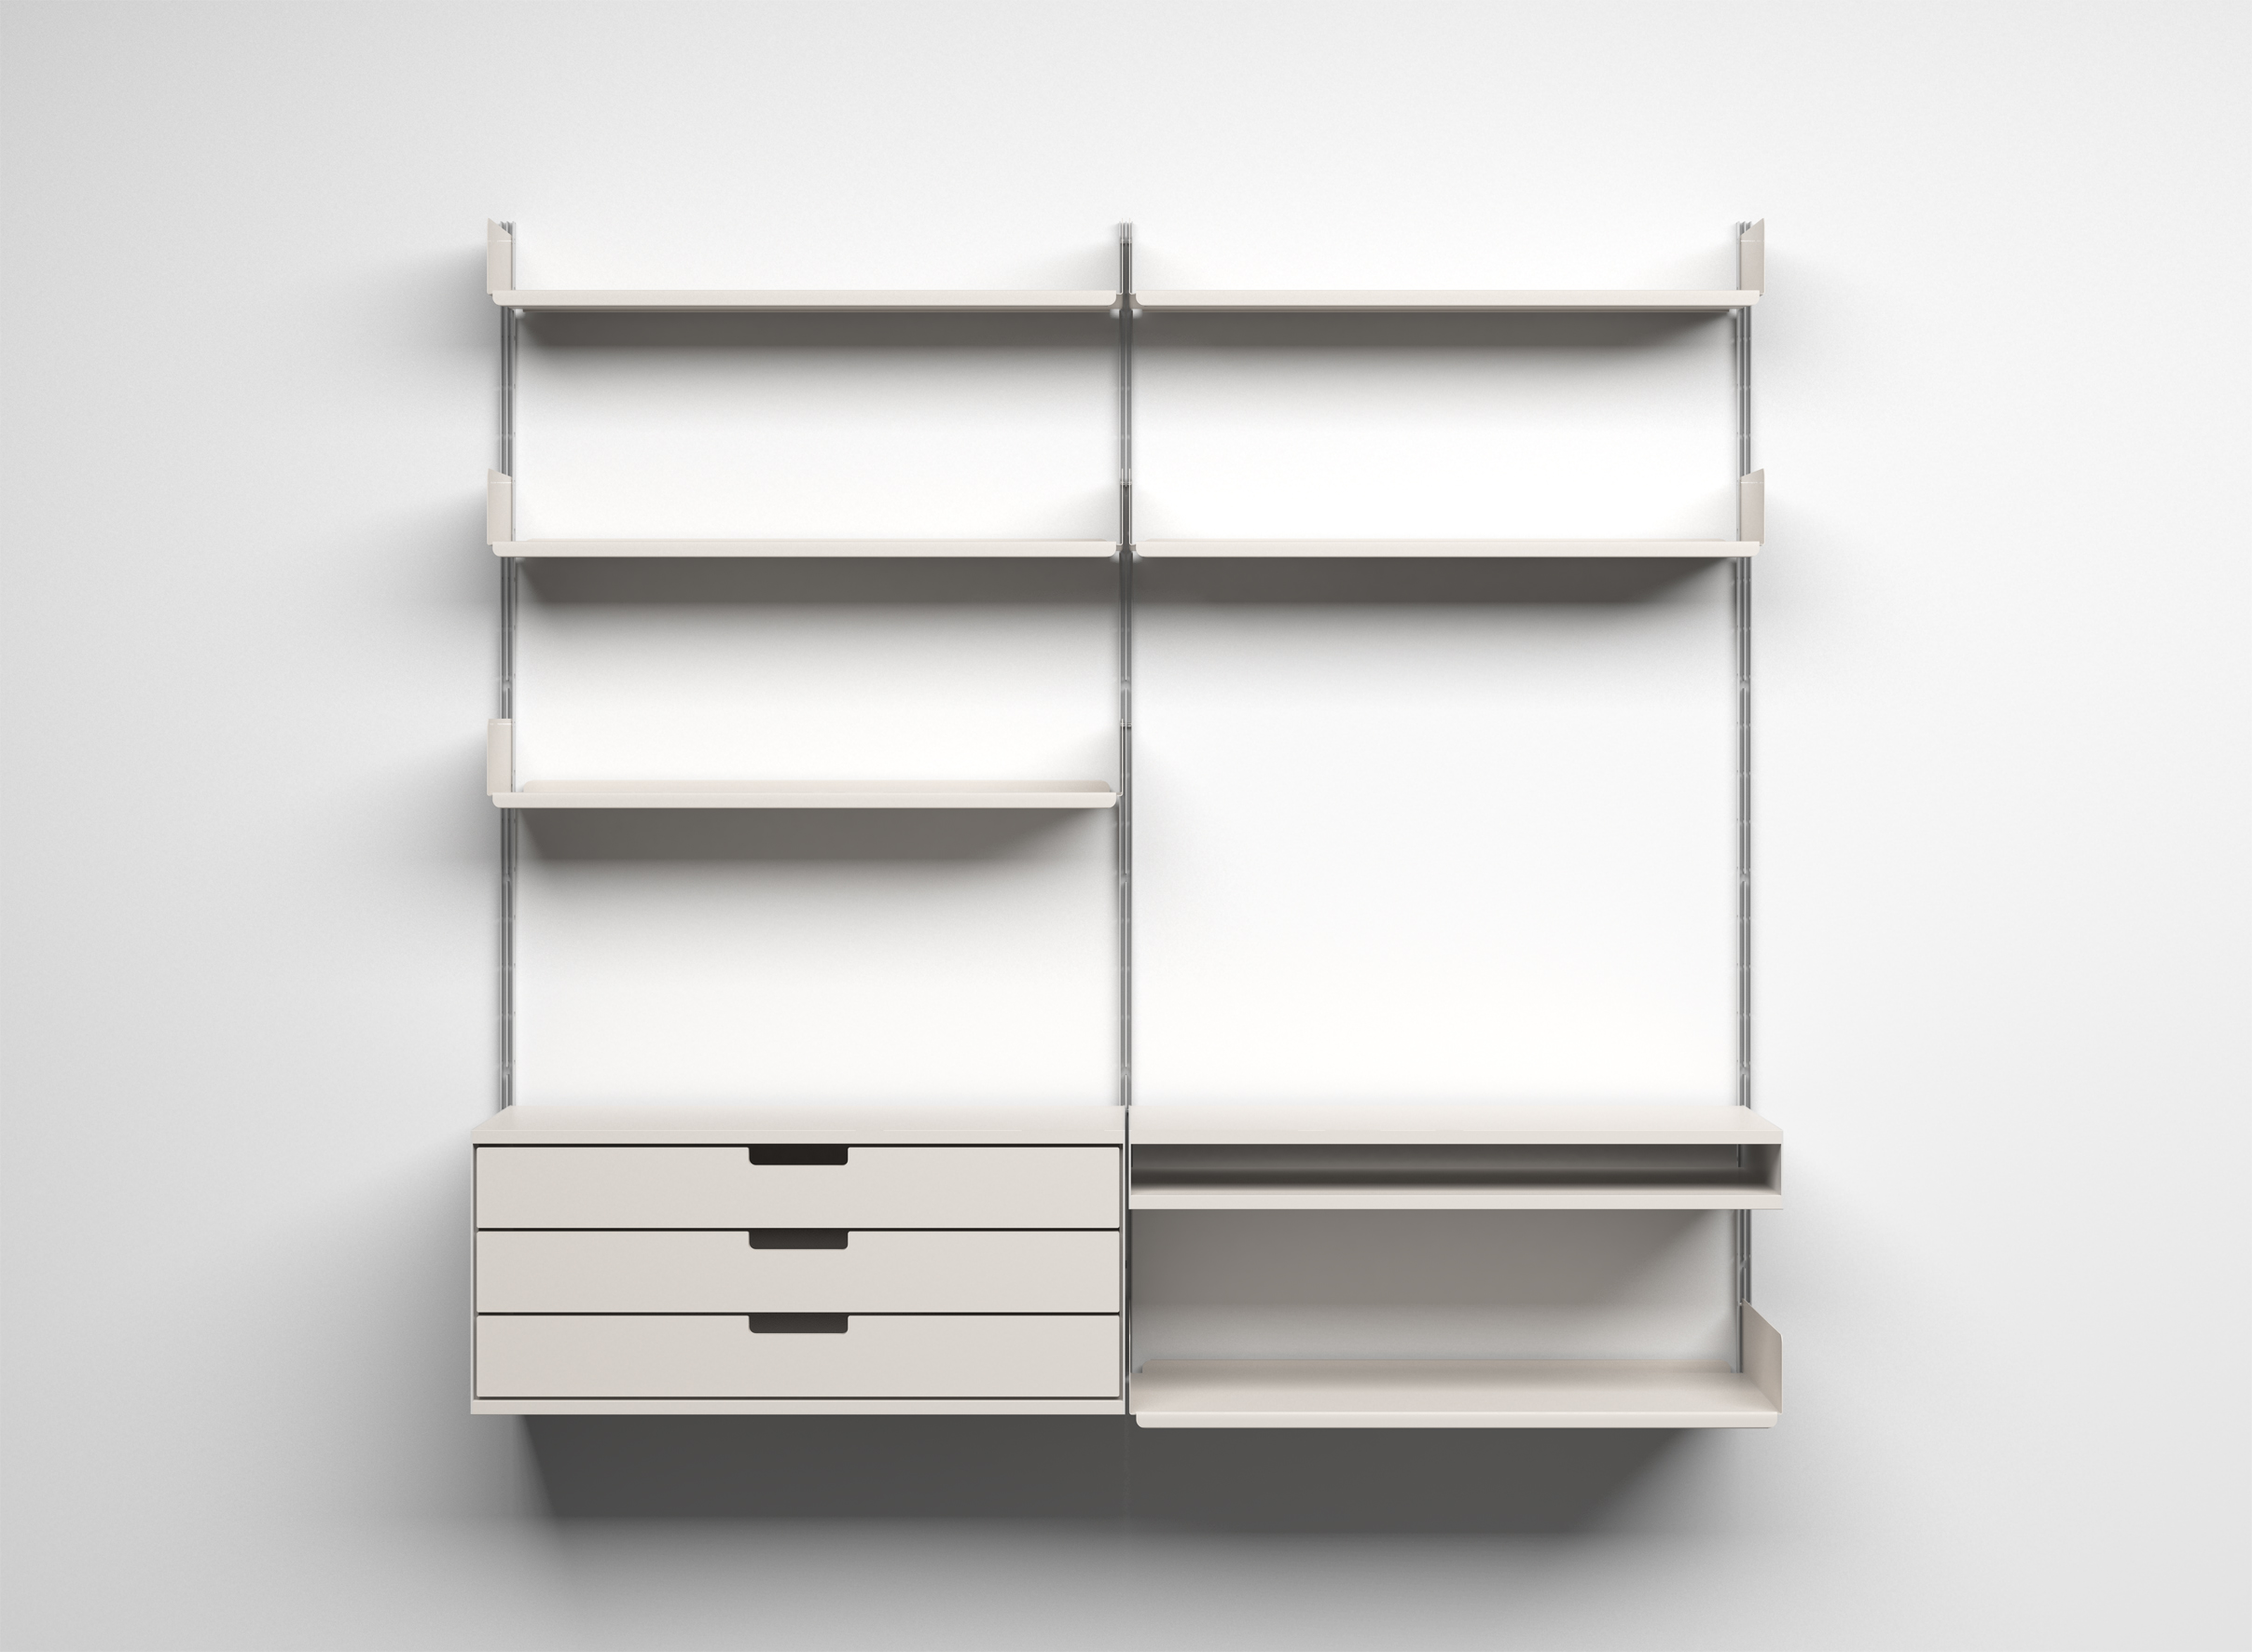
Start with depth, not width
Width is fixed by the wall, so it is tempting to start there. Depth is the figure that actually decides whether a shelf is usable. A shelf around 300 mm deep holds a folded stack of shirts or sweaters with the edges visible from the front. Push past roughly 350 mm and a second row hides behind the first, which is where seldom-worn items quietly disappear for a season.
Overhead shelves are the exception. Above the hanging rod, a deeper shelf earns its place because it stores bins and luggage that are pulled down whole rather than browsed item by item.
Spacing between stacks
The vertical gap between shelves should let you lift a full stack out without scraping the shelf above. A gap of roughly 250 mm suits folded knits and shirts; bulkier folded items such as heavy sweaters want closer to 300 mm. When shelves sit too close, the top of the stack jams and people stop refolding — the shelf slowly turns into a pile.
A quick test before mounting: stack the actual clothing you own on the floor at the planned height and try to lift the stack with one hand. If it catches, add 30–50 mm.
Fixed shelves or adjustable tracks
Fixed shelving — a board on cleats or brackets — is rigid and inexpensive, and it suits a closet whose contents rarely change. Its drawback shows up later: the spacing you chose on day one is the spacing you keep.
Adjustable track systems use a pair of vertical standards with slotted uprights, so shelf height moves on a notch grid. The trade-off is that the notch spacing sets your options; a system with closely spaced notches gives finer control. In rental units and older homes, track systems also spread load across studs more forgivingly than a single long cleat.
A note on older Canadian walls
Plaster-and-lath walls, common in pre-war housing across cities like Montreal and Toronto, do not always hold a wall anchor the way drywall does. Where the wall is uncertain, fixing standards into studs and confirming stud spacing first tends to save a second trip to the hardware store. Stud spacing in North American framing is commonly 16 inches on centre, but in older houses it is worth checking rather than assuming.
Plan the empty closet on paper
Before committing, sketch the closet face-on with the rod line drawn in, then place shelves around it. Folded-clothing shelves usually sit to one side at reachable height; overhead storage runs the full width above the rod. Drawing it first surfaces conflicts — a shelf that would block the rod, or a stack height that leaves wasted air — while they are still free to fix.
Keep one shelf deliberately empty when you finish. Wardrobes grow, and the closet that is full on installation day is over capacity by the next season.
For the rod planning that pairs with these shelves, continue with hanging zones. For the twice-yearly reset that keeps a layout from silently filling up, see seasonal rotation.